It was the first day of the Illuminated Manuscript workshop last Saturday. Well, actually the first day started on Wednesday when we went to the Windsor Castle library to view the real thing, the Sobieski Book of Hours. That was so beautiful and I felt very privileged to see such a rare treasure.
So on Saturday, real hands-on sessions started.
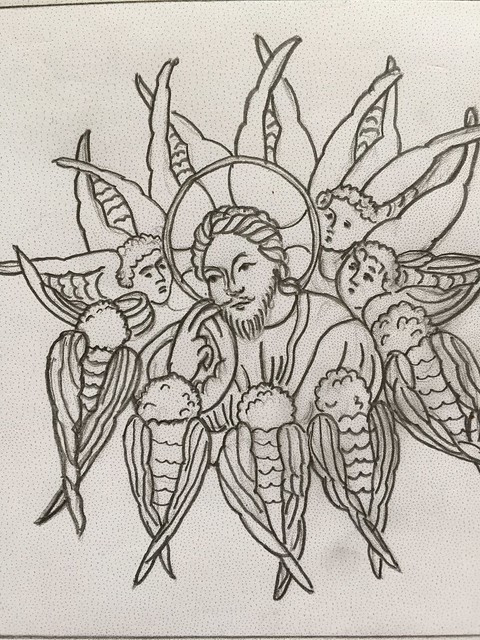
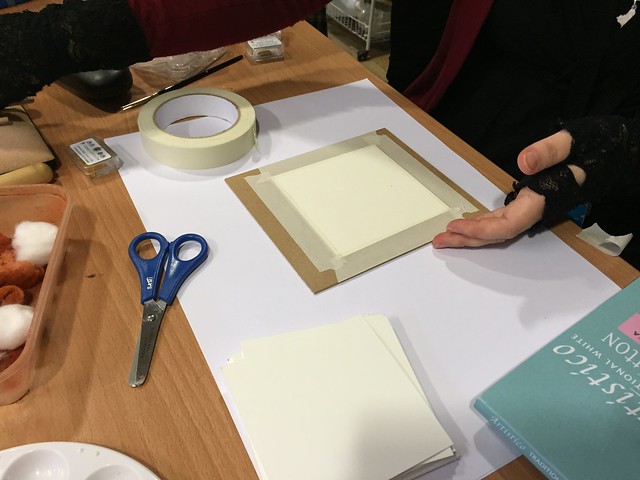
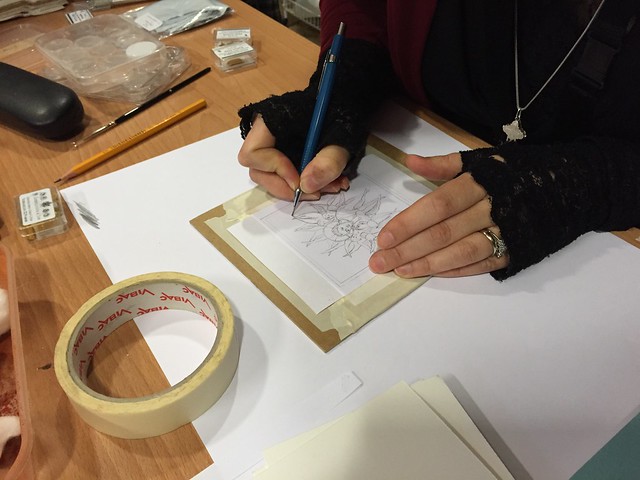
We are working on the first project, which is on 300gsm HP watercolour paper, not vellum. The tutor has drawn up an image that we will all be working on. We were given the image and a 4 inch square watercolour paper, with a thin board. First we fixed the paper onto the board with masking tape, then we learnt how to make a transfer paper.
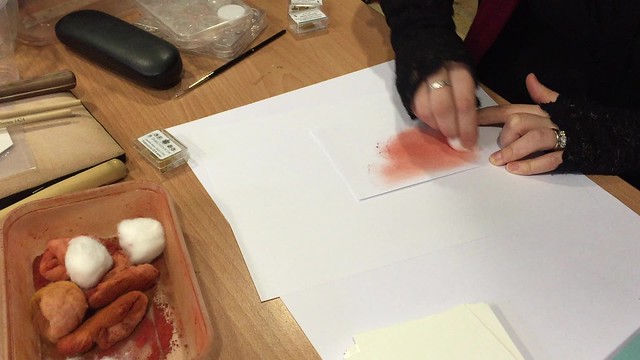
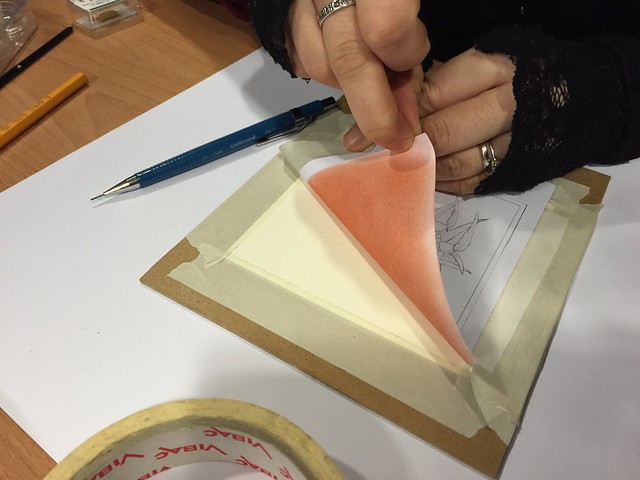
Transfer paper is made with red earth pigment. The pigment is spread over evenly onto a thick drawing paper with a clean swab of cotton. I can't remember the name of the red pigment, I must remember to ask!
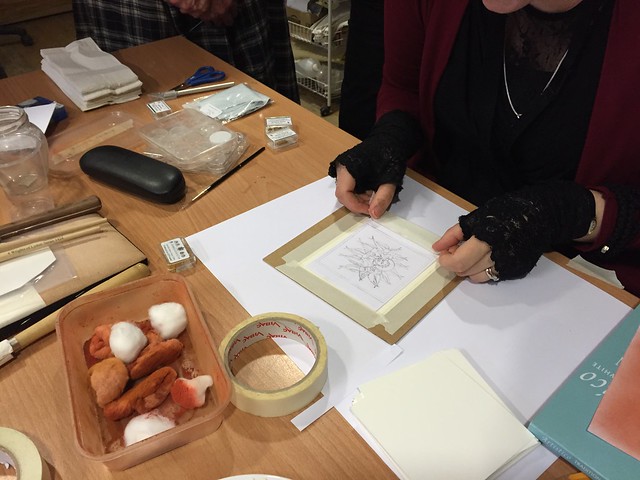
After the transfer paper is made, then we got onto transferring the image onto the watercolour paper. First one side of the image is taped onto the board over the watercolour paper, then the transfer paper is sandwitched face down between the image and the watercolour paper, then the other side of the image is fixed with masking paper so that it's not going to move about while the image is transferred onto the watercolour paper.
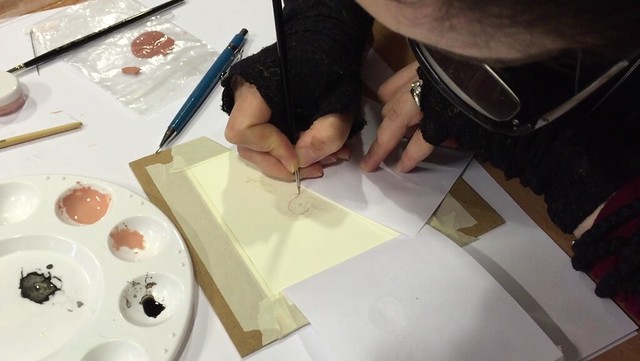
Then the image is traced with a pencil. The pencil needs to have hard lead, 5H above, so that the image is transferred clearly. If the lead is soft, then image doesn't transfer. Also, but adding extra pressure while tracing will create a kind of channel onto the watercolour paper, which will act as guide line for applying gesso and gum ammoniac, the base layer for gilding, later.
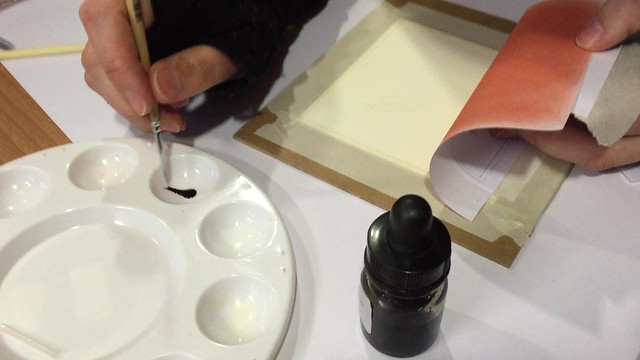
Checking the progress by gently lifting the masking paper. After the image is transferred, the red line is fixed with ink. The tutor supplied us with the oak gall ink that she has made according to the tranditional recipe.
The students have different pace of progress, so we were told to concentrate on drawing the Christ's head and around his head, so that even if the inking process has not been completed, we can move onto applying gesso on the halo of Christ.
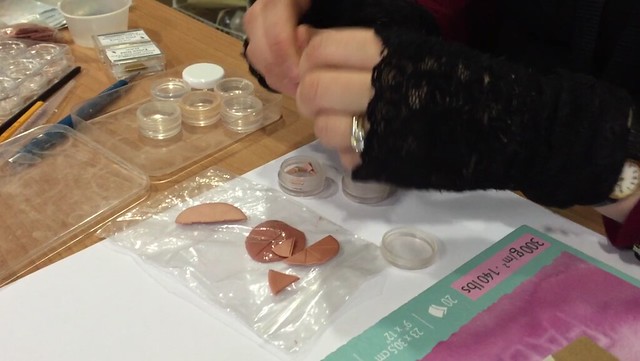
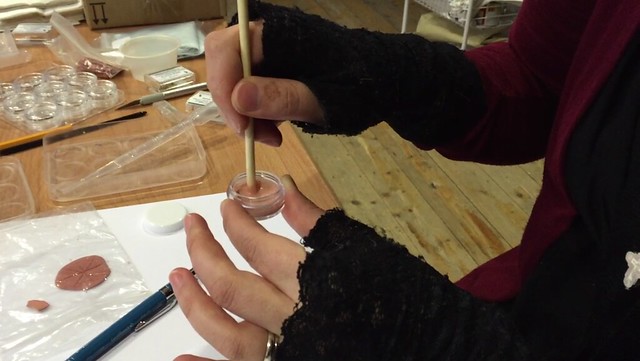
Manuscript gesso is made according to a particular recipe. These little discs are handmade gesso made by the tutor. A disc is broken up and put into a small container, then a few drops of purified water just enough to cover the gesso is added. The manuscript gesso contains: slaked plaster, lead carbonate, seccotine (fish glue), powdered sugar crystal, red bole (red earth pigment).
When gesso has absorbed all the water, it is smoothed with the end of a chopstic, making sure there aren't any lumps. Great care needs to be taken so that air bubblers are not going to be introduced. Everyone was given the gesso in the little container. A little of the gesso is transferred onto the watercolour palette. We had to examine it closely, and if there are any air bubbles, they need to be eliminated with a needle that has tiny amount of clove oil at its tip.
The outline of the halo is painted in with the gesso that is slightly thinned down with water first. Then the entire halo is filled in with gesso.
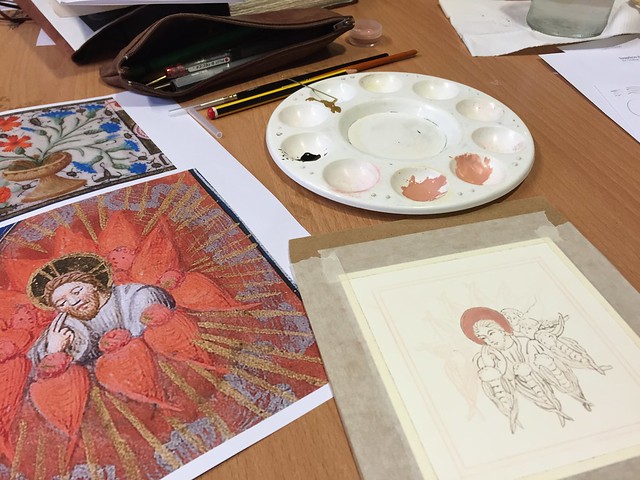
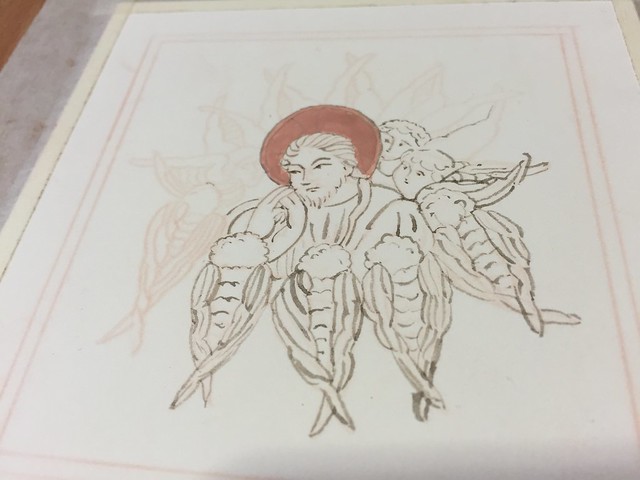
My work in progress. It is difficult to apply right amount of gesso. I apparently applied it too thinly the first time, so I had to layer it. Then I put too much on, and the halo ended up with a slight indentation in the middle when the gesso completely dried out.
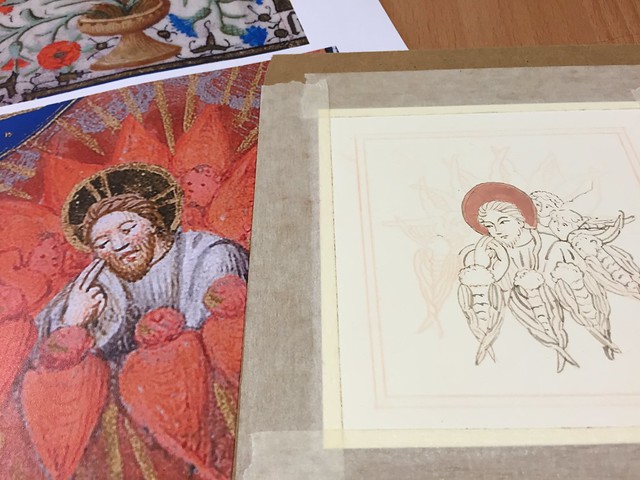
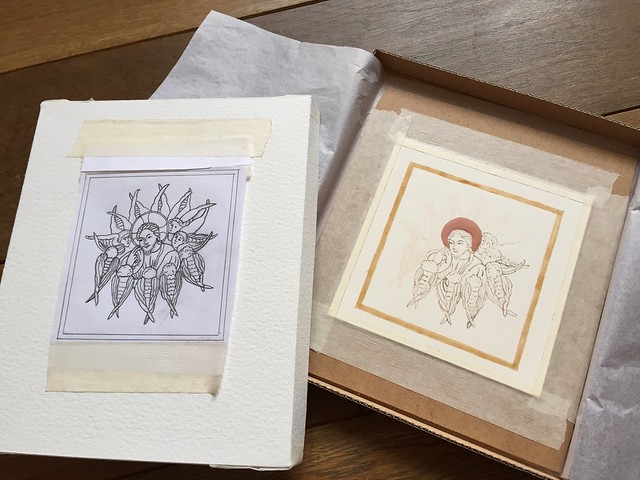
The original image and my work. When I was drawing the image with ink, I was referring to the original image but I didn't like the facial expression of Christ, so I ever so slightly changed his eyelid...then he became looking oriental, more like a handsome young Bhudda rather than Christ.
Don't know how just a slight change of brush strokes could change the entire face so much! I found it very funny, I had a bit of giggling session looking at my version of Christ. By the way, the creatures surrounding Christ are flaming Seraphs.
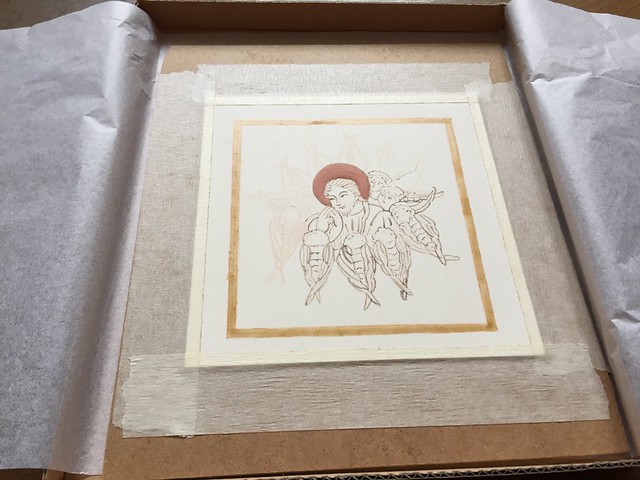
Once the gesso is applied, next we applied gum ammoniac to the border of the image. It is also the base for applying gold leaf. Gesso produces very shiny finish, and gum ammoniac produces subdued lustre.
We finished the day with the application of the first layer of gum ammoniac. This process needs to be repeated twice more, and we were told to get ready-made gum ammoniac and do it at home. I went to Cornelissen, a pigment shop in London near British Museum but they were out of stock. I was told that the manufacturer, Roberson, is producing a new batch of gum ammoniac with a new formula. So I needed to search the internet to source it. Eventually I got it from Gold Leaf Supplies.
We were also told that it is a good idea to keep the work in a box, as it is fragile. So I made a make-shift box for Mr Jesus Christ.
No comments:
Post a Comment